
On Twitter, Mark Brummel was wondering on how we would be able to get this wonderful new DEV environment locally, to be able to play with whenever we don’t have an Internet Connection. Well .. by coincidence, I had been trying to wrap my head around that a few weeks ago .. but never wrote up a procedure to do that. Well .. to help an old friend .. let’s do just that ;-).
Step 1: Install a new cloud-version of the DEV Tools.
You probably did this already. Just go to http://aka.ms/navdeveloperpreview and create yourself a VM.
Step 2: Create iso and zip of the needed resources
The resources that we need, is the DVD, the VSCode extension and sample code. I will make it easy on you. Just execute this script, and you’re good to go:
You see it will find, install and use my PowerShell modules because it needs it to create the ISO and Zip files. When the script is executed, you’ll end up with two files which you need to copy to your local environment.
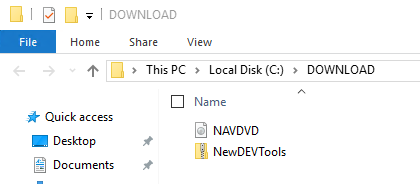
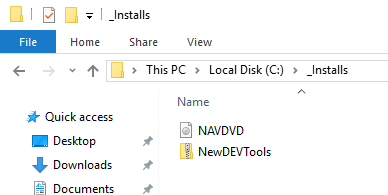
This can obviously take a while .. .What I did, I copied them on the local “C:\_Installs” folder on my local VM where I wanted to make these new Developer Tools available:
Step 3: Install NAV from the downloaded DVD to your local environment
I am all into local VMs. I never install NAV on my local host, my laptop. I always have an empty VM snapshot with Win2016 ready to install anything on it. So that’s what I have used to do so here as well. If you do it different, then the next steps might be different for you.. .
Again, I want to make it easy for you, and I have foreseen this script for you:
If you do it exactly as I did (Win2016, copied to C:\_Installs, …), then you should be good to go with this script. Else, you can just try to either change the parameters at the beginning of the script, or read the script and figure out these steps yourself, and do it manually (or step-by-step in PowerShell):
- Install NAV from the ISO file. The config I use is simply a full install of NAV
- Unzip the NewDEVTools.zip to the folder “C:\DEMO\New Developer Experience”
- Install VSCode
- Install the provided al-extension in VSCode (can be found in the folder “C:\DEMO\New Developer Experience”)
- Create a Navision_main instance (not really necessary, but it just mimics the AzureVM environment
- Create a WebServerInstance on Navision_main as well
As said, all these steps are done by the script as well – so if you’re lucky (I always seem to be ;-)), you just need to execute the script, and you should be good to go ;-).
Enjoy!
9 comments
3 pings
Skip to comment form
Hi Eric,
thank you for the script. In my iso there was no existing DOWNLOAD folder. Got an exception “Could not find a part of the path”. no big deal.
Author
Oh, that’s strange, because I thought it always existed because of the fact that it’s provisioned from a template – and it exists in mine. :-/
You are always welcome to change it on GitHub 😉
https://github.com/waldo1001/Cloud.Ready.Software.PowerShell/tree/master/PSScripts/NAV%20Developer%20Tools
Thank Waldo,
I’m successful installing on local machine. But I can’t find out The in-client designer on Web Client (Design Mode).
So, How to open Design Mode on Web Client ?
Please help me !!!
Author
Good point – I didn’t foresee that in my scripts (didn’t know extra things needed to be done for that).
I’ll try to find out, and alter the scripts..
Can we get to the files when we run out out Azure subscription? 😀
You habe to add in the web.config and restart the iis
Hi Waldo,
I have used your above blog to get VS working on another Azure Subscription.
This time, when I am following the steps, I am getting W1 database instead of US database and your Script is generating error while creating ISO file.
Can you please guide, what is the reason I am getting W1 database when creating the VM from this link ” http://aka.ms/navdeveloperpreview”
Regards,
Anwar
Author
because they changed it in the latest update: now only W1 database is being used. I have changed the script now.. and refer to the W1 folder..
Thanks for the information!
[…] http://www.waldo.be/2017/02/20/make-the-new-developer-tools-available-on-a-local-machine/ […]
[…] http://www.waldo.be/2017/02/20/make-the-new-developer-tools-available-on-a-local-machine/ […]
[…] http://www.waldo.be/2017/02/20/make-the-new-developer-tools-available-on-a-local-machine/ […]